


Lord of the Rings Cosplay: Your Guide to a Tolkien-Authentic Look with Nerdbutiken.se
Do you want to create a Lord of the Rings cosplay that feels as at home in Middle-earth as it does at Comic Con, a LARP, or your next nerdy themed party—without getting lost in a jungle of materials or buying the wrong size? Whether you're aiming for Aragorn's weathered ranger style, Arwen's elven elegance, or a hobbit outfit that works all day long, the key is to think smart: character, layering, and the right details from the start.
In this guide, you'll get a practical path from idea to finished whole: how to choose your level (budget vs. screen-accurate), build a shopping list, and elevate everything with accessories, props, makeup, and styling—using Nerdbutiken.se as a resource for key cosplay components. We'll also clarify the difference between cosplay and "costume," and how to achieve a Tolkien-authentic look that looks just as good in real life as in pictures.
Succeeding with Lord of the Rings cosplay almost always begins with a smart choice: who you want to be – and how "realistic" you want to make it. Top-ranked guides emphasize that you save both money and stress by deciding on your level early (inspired look or screen-accurate) and starting with a clear reference, preferably a specific scene or era. This makes it easier to choose the right garments, color palette, and iconic details when you shop at, for example, Nerdbutiken.se.
Popular Characters That Work in Practice
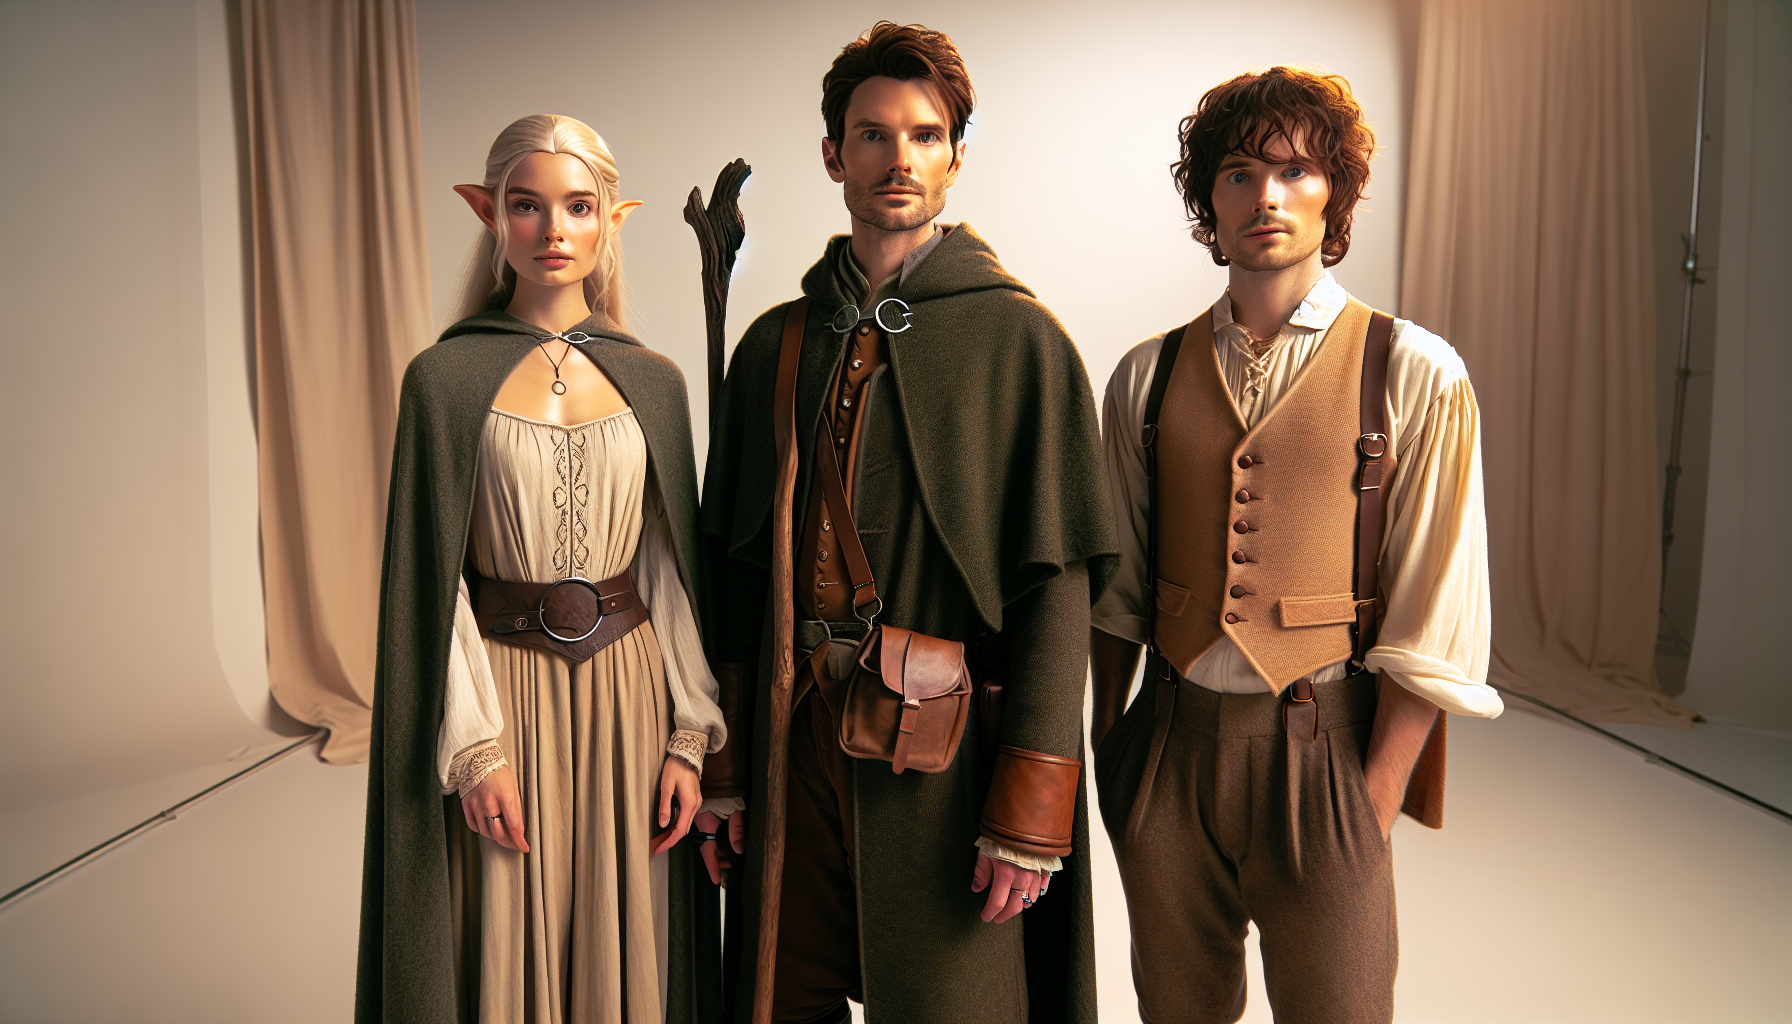
Some choices are popular because they are clear, photogenic, and relatively easy to build in layers:
-
Aragorn (ranger/king): earth tones, cloak, belt, and a "hero prop" go a long way for recognition.
-
Legolas/elf: elf ears + jewelry provide a quick effect, but often require more hair/wig styling.
-
Gandalf: a strong silhouette (cloak, hat, staff) makes even a simple costume look "grand."
-
Arwen/Éowyn: elegant cuts and jewelry – perfect if you want to prioritize fabric quality and drape.
-
Hobbit: comfortable and con-friendly; focus on vest, shirt, suspenders, and small props.
-
Ringwraith/orc: effective in photos but more time-consuming (mask, makeup, layers, heat).
Comfort is an often underestimated success factor: choose shoes you can walk in all day, test mobility in knees/shoulders, and avoid heavy armor pieces if you'll be standing in lines or using public transport.
Unique Angle: Create Your Own Middle-earth OC Without Breaking Lore
Want to stand out among all the Aragorns? Create your own original character (OC) that still feels Tolkien-authentic: a ranger from the north, a Rohan scout, or an apprentice to a Gondorian scribe. Stick to a clear culture (colors, materials, symbols) and choose 1–2 signature details – for example, a seal, a map, or a brooch – and you'll have a personal cosplay that still "reads" Middle-earth in the first picture.
Section 2: Plan Your Lord of the Rings Cosplay Smart – Budget, Materials, and Shopping List from Nerdbutiken.se
The most common pitfall with Lord of the Rings cosplay is not a lack of inspiration – it's buying "a little bit of everything" and still lacking the complete picture. With a simple plan (character → key pieces → complementary items), it becomes easier to achieve a Tolkien-authentic look without breaking the bank. Here's a practical approach where Nerdbutiken.se serves as a hub for many central parts and nerdy accessories.
Build a Shopping List That Actually Gets Done
Start with a clear "core outfit" and add 1–2 details that make people instantly recognize the character:
-
Base garments & layers: tunic/dress, trousers/underskirt, vest, cloak/cape – layering provides the most "Middle-earth feel" for your money
-
Belts & bags: belt with a simple buckle + small bag/pouch (practical at events and looks right in photos)
-
Jewelry & symbols: ring, brooch, elven detail, or seal (your "recognition marker")
-
Props/weapons (replica): choose one "hero prop" (sword, staff, bow) rather than several mediocre ones
-
Wig/ears/makeup: if the character requires it – otherwise, you can put the budget into texture and accessories
A unique shortcut many guides miss: create a mini-brief of three lines ("culture," "color palette," "degree of wear"). This helps you match materials and avoid any single item feeling "too new" or from the wrong era.
Budget Strategy + How to Avoid Bad Online Purchases
Set a maximum budget and divide it 60/30/10: 60% base garments, 30% statement details, 10% emergency solutions (glue, safety pins, tape). Always check size guides and measurements, read material descriptions (polyester might need airing), and order well in advance – especially before con season.
An extra smart method is capsule cosplay: choose neutral bases (brown/green/black tunic, simple cloak, belt) that, with small changes, can become both a ranger, a Rohan scout, or a "traveling hobbit." This gives you more outfits from the same purchase – perfect when shopping successively from Nerdbutiken.se.
Section 3: Key Garments and Layering – How to Get the Right Tolkien Feel
What makes a Lord of the Rings cosplay credible is rarely a single "perfect" garment – it's the sum of layers, textures, and a well-thought-out silhouette. Top-ranked guides often return to the same basic principle: build the outfit's base first (tunic/dress + trousers/skirt), then add distinct character layers like a cloak, vest, belt, and small details. With the right layering, you can also adapt your look to a Swedish convention environment (warm indoors, cold outdoors) without losing the Middle-earth feel.
Basic Silhouettes That Instantly Signal Middle-earth
Start with garments that "read" Tolkien even from a distance and can easily be upgraded over time:
-
Tunic/underdress as a base layer: choose a medieval cut, preferably with some width and texture – it creates movement in photos and feels more "lived-in" than a plain fabric.
-
Vest, corset, or overdress as a middle layer: gives shape and character (ranger/warrior vs. elven court fashion) and allows you to vary the style without buying new items.
-
Cloak or cape as an outer layer: the quickest way to an epic silhouette; think hood for a traveler (Aragorn vibes) or flowing cape for elves and nobility.
-
Belt and simple bag/pouch: ties layers together, conceals practical items, and creates "adventure logic" (where do you keep your map, coins, lembas?).
An often-missed detail is proportions: a slightly longer tunic under a shorter vest creates clear layering separation and looks more cinematic than "a one-piece outfit."
Texture, Color, and Swedish Climate Adaptation (Without Breaking the Aesthetic)
Go for earth tones (olive, brown, grey, burgundy) and mix matte and rough with something softer – weave, wool-feel, and leather-look immediately convey "weathered" realism. For Swedish reality: choose a breathable base layer (you'll get warm in lines), and make the outer layer (cloak/cape) easy to remove at events. An extra trick is hidden pockets sewn into the inner cloak or under-belt – you avoid modern backpacks in photos.
Finally: choose shoes you can actually walk in all day, and build the illusion with leg wraps, gaiters, or spats that conceal modern sneakers. It's a small styling effort that yields a big Tolkien effect – especially in pictures.
Section 4: Accessories That Elevate Everything – Rings, Brooches, Jewelry, and Iconic Details
If you want your Lord of the Rings cosplay to be instantly recognizable, accessories are often the quickest way to achieve that. Top-ranked content usually highlights "hero pieces" (an iconic detail that catches the eye) as the key to making a simple tunic or dress suddenly look Tolkien-authentic. With the right ring, brooch, or belt, you can also adjust the expression from "inspired fantasy" to Middle-earth in minutes – and many of these details are easy to find via Nerdbutiken.se.
Choose 1–2 "Statement Pieces" That Make the Whole Look
-
The Ring as a focus: A One Ring-inspired ring works both as a clear reference and as an accessory you can wear even when not cosplaying. Let it be the "heart of the story" in your photos and poses.
-
Brooches and clasps: An elven leaf brooch or a more rustic cloak clasp provides instant cultural coding (elf, ranger, Rohan). It's also one of the most cost-effective upgrades you can make.
-
Belt + bag/pouch: Practical and lore-friendly. The belt creates a silhouette, and a small bag solves the problem of carrying a phone/keys without ruining the overall look – a common issue at conventions.
A tip rarely mentioned: think "material logic." Shiny, modern metals can break the illusion in daylight. If you don't want to replace the accessory, lightly dull the shine (e.g., with weathering or a matte finish) so it blends with the fabric's texture and earth tones.
Match Accessories with Culture – and Build a Small Lore Story
For a more believable expression: choose accessories that feel like they belong in the same region. Gondor leans towards clean lines and heraldic symbols, Rohan towards leather and equestrian details, elves towards organic forms and lighter metals, and hobbits towards small, everyday objects. Unique angle: create a "travel detail" – a seal, a small map, a fictional diary page in your bag – that gives your cosplay personality and makes it extra fun to photograph and talk about at events.
Weapons, Armor, and Props – Safety, Rules, and Authenticity
The right props often make a bigger difference than a completely "perfect" costume. In Lord of the Rings cosplay, swords, staffs, shields, and bows are visual shortcuts to recognition – but they are also what most often cause stress before an event: "Can I bring this?", "How do I transport it?", and "Does it look plasticky in pictures?". Here's a practical guide to credible, safe weapons and armor details, with smart choices you can find through Nerdbutiken.se and similar assortments of nerdy replicas and accessories.
Choose Props According to Event Rules (Before Clicking "Buy")
-
Check con/venue rules first: Many events require "peace-bonding," prohibit metal blades, or ask you to check in props at the entrance. Save screenshots of the rules on your phone.
-
Focus on the right material: For most conventions, foam/EVA, resin, or plastic replicas are safer than metal. LARP often has specific requirements for padding and flexibility.
-
Transport = half the battle: Choose swords/staffs that fit in a bag or have a scabbard/case. A simple guitar bag or poster tube can be a lifesaver on the subway.
What's often missing in guides is how to get a "movie look" without building everything from scratch: focus on one hero prop (e.g., a staff for Gandalf or a Gondor-style sword) and keep the rest simple. It will be both more photogenic and easier to carry all day.
Budget Tricks That Make Props More "Middle-earth" Instantly
-
Weathering: Dry-brush dark brown/black into seams and edges for a worn look, especially on shields and armor details.
-
Grip wrapping: Wrap handles with leather straps or linen rope and finish with a little wood glue/latex for durability – instantly gives a premium feel in photos.
-
Carrying method and posing: Keep your sword in its scabbard when walking, and only draw it for photos. It looks more "lore-accurate" and reduces the risk of bumping into people.
With the right prop choices, a little weathering, and an understanding of safety, you'll have a cosplay that feels credible – and that will actually be allowed into the event.
Makeup, Wigs, and Ears – Elven Glow, Battle Weariness, and Orc Effects
What often distinguishes a "costume" from a truly convincing Lord of the Rings cosplay is the finish of the face and hair. The right makeup, a good wig, and well-applied elf ears can make even a simple tunic feel Tolkien-authentic. At the same time, this is where many get stuck: how do you make makeup last an entire con day, how do you prevent a wig from looking plasticky, and how do you make ears stay on without irritating the skin? Here's a method that works both in real life and in pictures.
Base Look: Choose Expression Based on Race and Lifestyle
-
Elf (e.g., Arwen/Legolas): work with luminosity in the skin (light glow), soft contour, and muted colors. Keep brows well-groomed and avoid harsh lines – elves should feel "timeless."
-
Human/warrior (e.g., Aragorn/Éowyn): focus on natural skin, a little shading under the cheekbones, and an "out in the elements" feel with light freckles/sun-kissed tone. Add subtle dirt/weathering at the hairline and jawline for a traveler's look.
-
Hobbit: warmer blush, softer features, and preferably small details like "rosy cheeks." (We'll cover feet in another section, but the face can also feel homely.)
-
Orc/Ringwraith: build with color correction (grey/green tone), deep shading, and "cracks"/veins with a sponge. Finish with powder/setting spray to reduce shine.
A pro tip many guides miss: test the look in two lights. Take a quick photo in daylight and one with LED/flash. If you look "flat" in the photo – intensify contour and increase contrast slightly, but keep transitions soft so it still looks natural on location.
Wigs and Elf Ears That Last All Day
For wigs: choose one that can withstand heat if you want to curl/style (check product info). To get a more cinematic hairline look, try thinning out the front a bit and lightly powdering the part so it doesn't look too sharp. Secure with a wig cap + hairpins and preferably some wig-grip if you'll be moving a lot.
For elf ears: clean the skin, apply skin glue/latex glue thinly, press firmly, and "blend" the edge with concealer and powder. Always bring a mini-kit: skin glue, cotton swabs, powder, and a small sponge. This way, you can save your ears after a few hours of heat, dancing, or photography – stress-free.
Event, Photography, and Overall Experience – From Nerdbutiken.se to Convention/LARP
Once your Lord of the Rings cosplay is complete, the fun part begins: wearing it to a convention, themed photoshoot, or LARP. Here, many often encounter the same problems that recur in guides and forums: "How do I transport props?", "What do I bring if something breaks?" and "How do I get photos that look cinematic?". With the right plan, the day becomes both more comfortable and more Tolkien-authentic – and you avoid emergency solutions in a restroom queue.
Packing List That Saves the Day (and Your Cosplay)
Invest in a simple "support kit" bag, especially if you have armor, a wig, or ears:
-
Repair kit: safety pins, small scissors, needle & thread, double-sided tape, contact glue/fabric glue (mini), extra buckles/loops
-
Comfort & durability: blister plasters, athletic tape, wet wipes, deodorant, water + quick energy
-
Props & safety: peace-bonding for weapons, soft fabric bag for blades/details, rubber bands to secure rattling parts
-
Makeup/wig touch-ups: powder, setting spray, hairpins, small brush/comb, skin glue if you're wearing elf ears
Unique bonus often missed: print out a quick "character sheet" (3–5 words about personality + 2 signature poses). This makes it easier to embody the character even when you're tired.
Photography in Middle-earth Style + Social Cosplay Etiquette
For photos that feel like Lord of the Rings: choose forests, stone ruins, fog, evening light, or a simple background with lots of texture (wood, granite, moss). Try "cinematic" angles: low camera height for heroes, side lighting for Ringwraiths/orcs, and a cloak catching the wind. Remember to ask before taking photos, and offer to send the picture afterward – it builds community.
Create a Mini-Quest on Location (Unique Overall Feel)
Make the event memorable with a small "quest": gather a Fellowship group photo, have friends "sign" a fictional travel diary, or stage a short scene (e.g., "the council meeting in Rivendell"). With a few well-chosen props from Nerdbutiken.se and a clear idea, your cosplay becomes more than an outfit – it becomes an experience.
Frequently Asked Questions (FAQ)
Q: What is the difference between cosplay and just dressing up in Lord of the Rings style?
A: Cosplay is usually about recreating a specific character (or a clearly defined OC) with recognizable details: silhouette, color palette, accessories, and "attitude." Dressing up can be more freely inspired. A Tolkien-authentic look rarely comes from a single "perfect" costume, but from the overall impression: layering, natural material feel, proper wear/weathering, and cultural markers (Gondor vs. Rohan vs. elves vs. hobbits).
Q: Which Lord of the Rings cosplay is easiest for beginners?
A: Hobbits and rangers are often the most forgiving. You can go a long way with a shirt + vest/tunic + belt + cloak and a pair of comfortable shoes. Add a clear "signature" like a brooch, ring, or bag to enhance recognition without needing to build armor right away.
Q: How do I avoid bad purchases when ordering cosplay parts online (e.g., from Nerdbutiken.se)?
A: Measure yourself and compare with the size guide, especially across the bust/chest, waist, hips, and sleeve length. Read material descriptions (fabric drapes differently), and factor in delivery time with a margin before the convention. A pro tip is to order key pieces early (cloak/boots/props) and leave small accessories until last.
Q: What gives the most "Lord of the Rings feel" for your money?
A: Focus on elements that are visible from a distance and create a silhouette: a cloak/cape, a belt with a pouch, and a distinct statement accessory (e.g., an elven-inspired piece of jewelry or a ring). After that comes texture (woven fabrics), layering, and subtle weathering that makes the outfit look "traveled," not new off the shelf.
Q: What are the rules for swords, staffs, and other props at conventions in Sweden?
A: Rules vary, but expect requirements for peace-ties, no sharp edges/points, and often that props should be made of safe materials (foam/plastic) or clear replicas without function. Always check the event's policy in advance and consider transport: a weapon bag or wrapping reduces the risk of problems at entry.
Q: How do I keep elf ears and a wig in place all day?
A: For elf ears: clean the skin, use skin adhesive, and powder the edges to blend. For wigs: use a wig cap, secure with clips/pins, and plan the hairstyle for movement. Bring a small "repair kit" (glue, powder, bobby pins) so you can touch up between photos.
Q: I want to create my own Middle-earth OC – how do I keep it lore-accurate?
A: Start with a region/culture and build consistently: colors, materials, symbols, and function. A Rohan scout might have practical leather details and horse themes; a ranger from the north more muted earth tones and worn layers. Write a simple background (goals, itinerary, a "token" like a seal/map) and let the accessories tell the story – then the OC will feel at home in Middle-earth.
Your path to a Tolkien-faithful overall impression
A good Lord of the Rings cosplay is rarely about "all or nothing" – it's about choosing the right character level, planning purchases smartly, and then building a credible expression with layering, thoughtful accessories, and safe props. When the silhouette is right (tunic, cloak, belt) and the details match the culture and journey (Gondor, Rohan, elves, or hobbits), you get a look that feels authentic both at conventions, in photos, and in LARP. And don't forget comfort: shoes, mobility, and weather adaptation are often what determine whether you can wear your cosplay all day.
Next step: choose 1–2 "hero pieces" that elevate everything (e.g., a cloak + brooch or a ring + belt), make a simple shopping list, and secure delivery times well in advance of the event. Check out Nerdbutiken.se to gather central parts in one place, and then upgrade over time with more details, weathering, and better styling. Feel free to comment with your favorite character – or your own Middle-earth OC – and the community will help you further.